HTML Favicon Tutorial
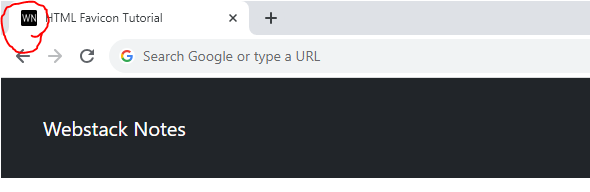
A favicon, short for "favorite icon," is a small image or icon that is associated with a website and is displayed in a user's browser tab, bookmark, or favorites list.
It helps users easily identify and locate a specific website.
Creating and implementing a favicon for your website is a straightforward process.
Create the Favicon
- Favicons are typically square and come in various sizes.
- The most common size is 16x16 pixels, but larger sizes (32x32, 48x48, etc.) are also used to provide higher-quality icons for different devices.
- You can create a favicon image using graphic design software like Adobe Photoshop, GIMP, or online tools.
Save the Favicon
- Once you have your favicon image ready, save it in a format that supports transparency, like PNG or ICO.
- The ICO format is commonly used for favicons, but most modern browsers can also display PNG favicons.
Naming the Favicon
- Name your favicon file "favicon.ico" or "favicon.png" to ensure browsers recognize it as the site's favicon.
- You can also create multiple versions of your favicon with different sizes and name them accordingly (e.g., "favicon-16x16.png," "favicon-32x32.png").
Place the Favicon in Your Website Directory
- Upload the favicon file to your website's root directory. It should be at the same level as your HTML files.
Add the Favicon to Your HTML
- To link the favicon to your HTML pages, you need to add the following code within the <head> section of your HTM.
For a favicon named "favicon.ico"
<link rel="icon" type="image/x-icon" href="favicon.ico">
For a PNG favicon
<link rel="icon" type="image/png" href="favicon.png">
Example